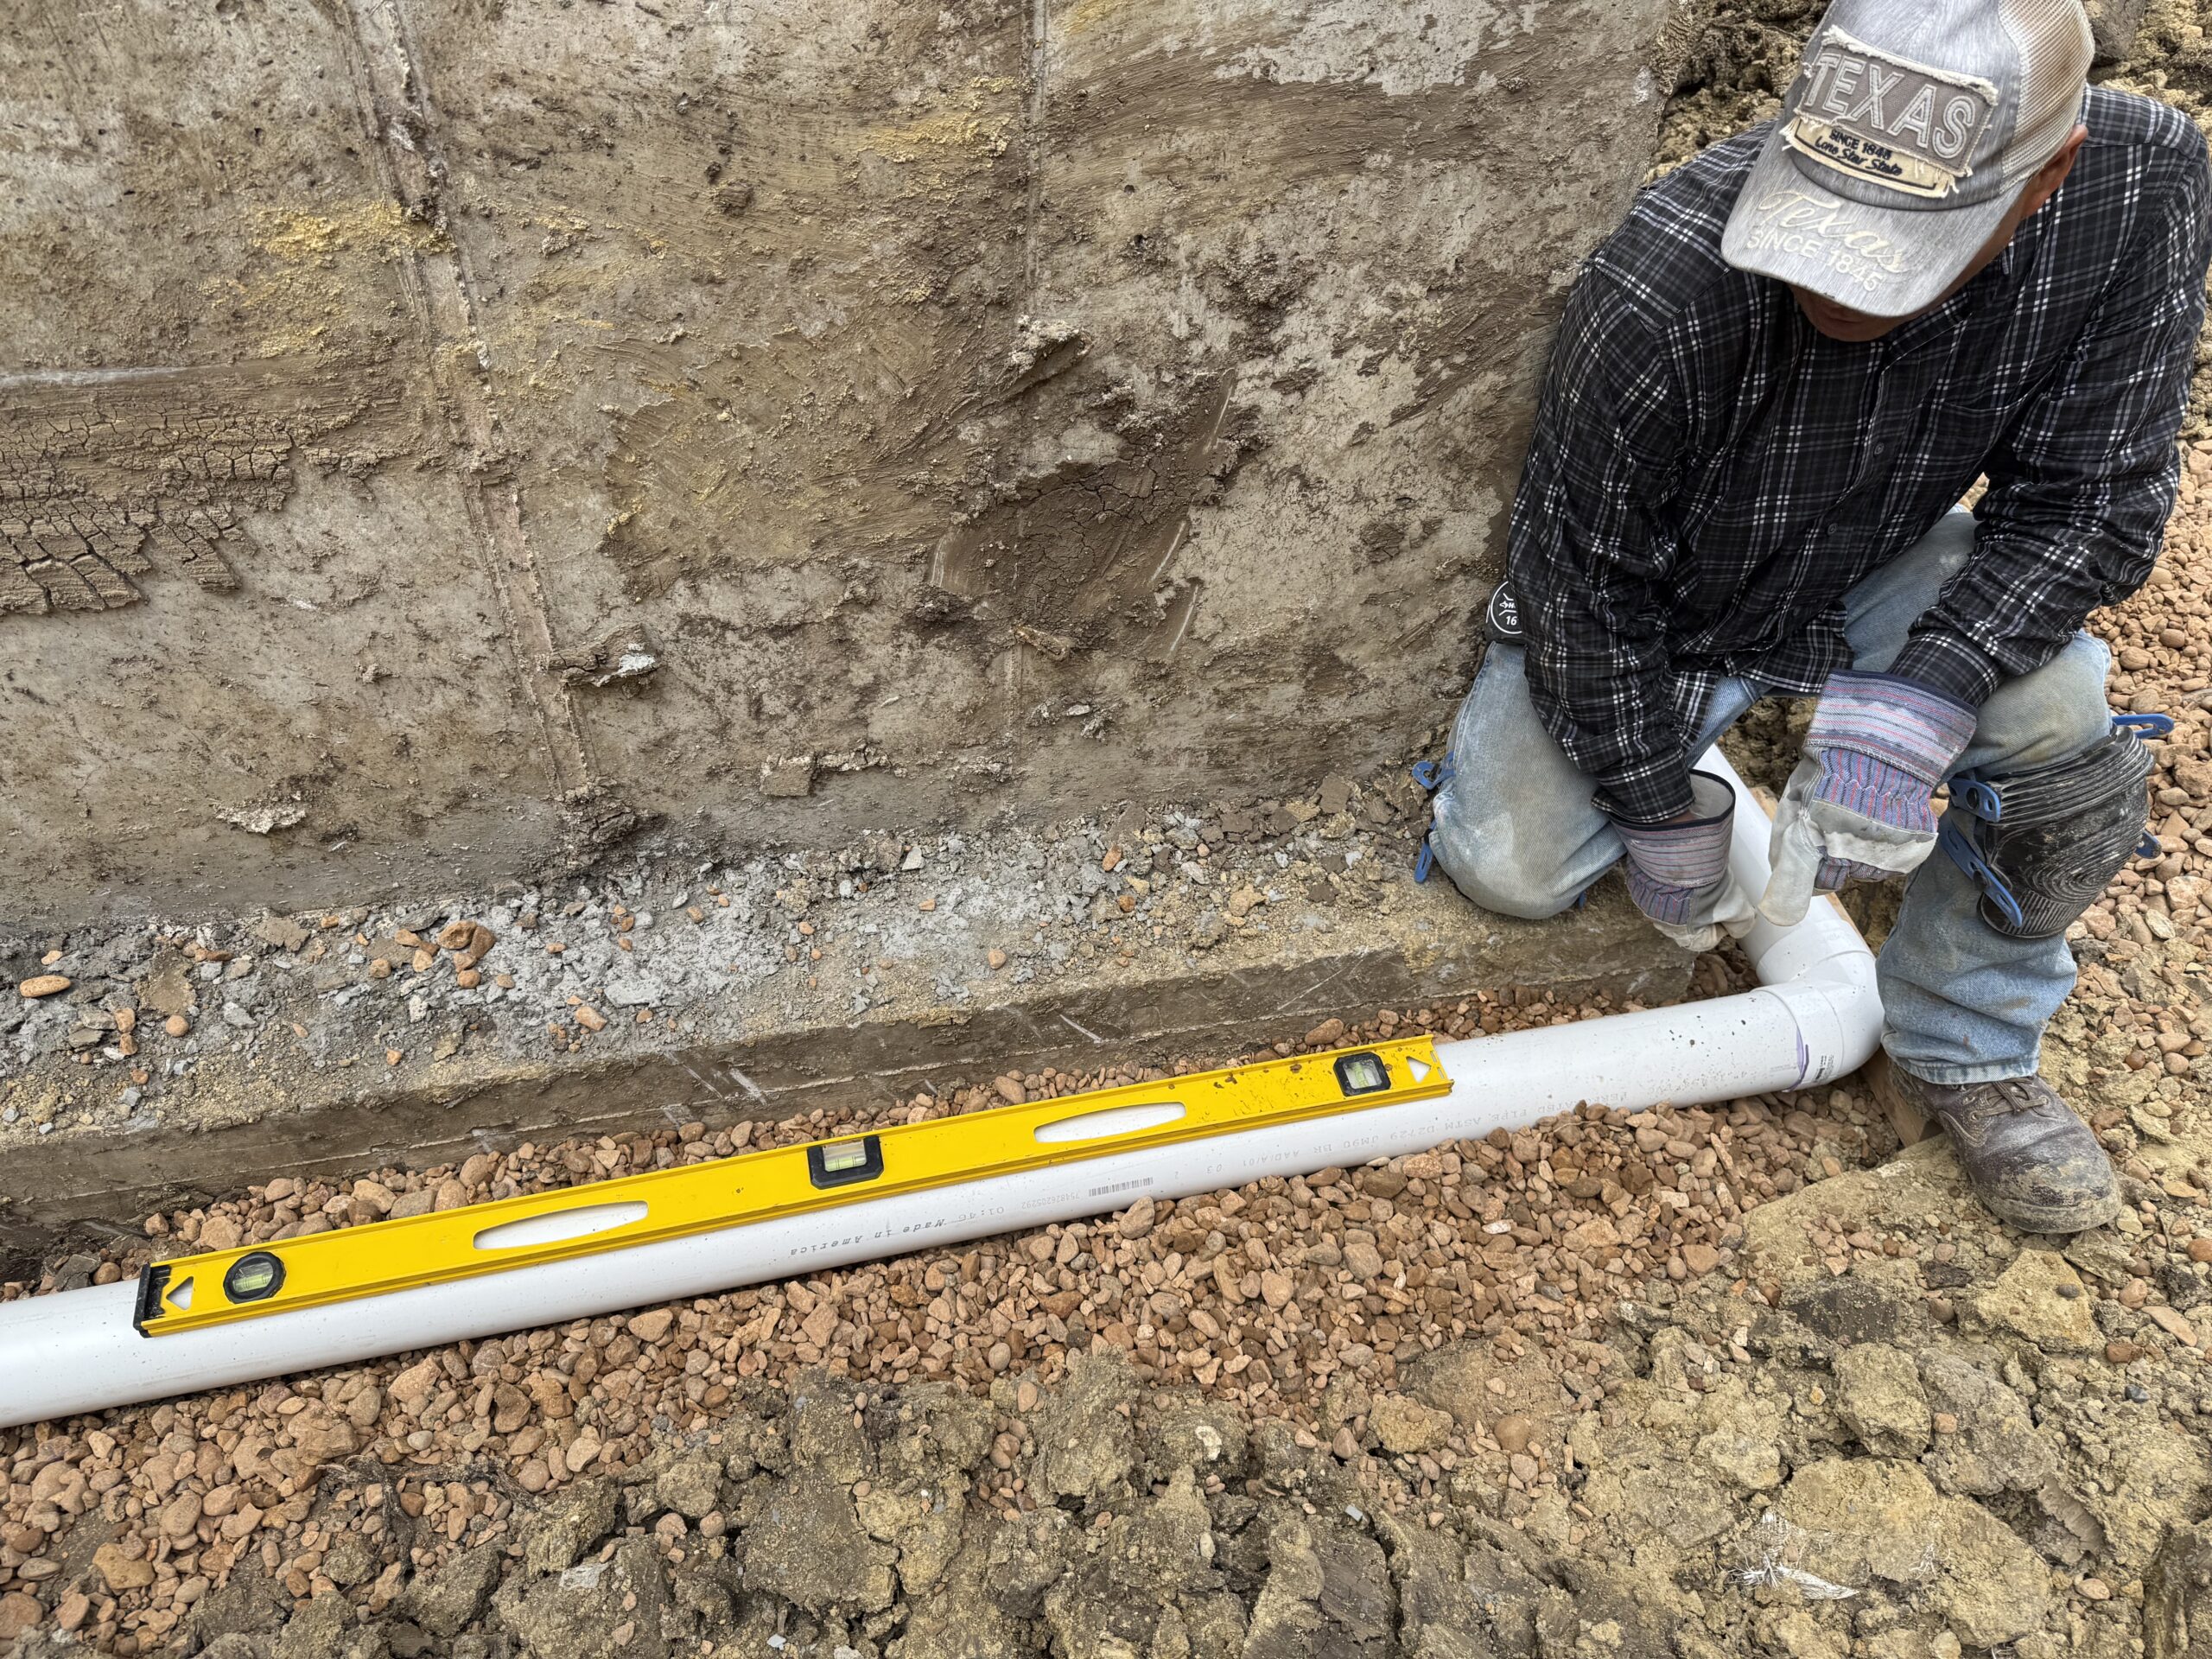
Improper drainage can lead to foundation cracks, basement flooding, and costly repairs. A French drain system offers a reliable, cost-effective solution for redirecting water away from structures and landscape features. This guide walks through each phase of installation, from site assessment to final testing, ensuring a durable, high-performance system that protects property for years to come.
1. Planning and Site Assessment
Before any excavation begins, a thorough evaluation of the problem area is essential. This step determines the drain’s path, depth, and required materials.
Key Considerations
- Water source identification: Locate the primary runoff zones, low spots, and existing grading issues.
- Soil composition: Sandy soils drain quickly, while clay may need additional perforated pipe or a broader gravel trench.
- Obstructions: Underground utilities, tree roots, and foundations dictate trench routing.
- Local codes: Verify municipal requirements for drainage projects.
For a deeper dive into assessing site conditions, Discover expert strategies here.
2. Designing the Drain Layout
A well-designed layout ensures water flows efficiently toward the discharge point. The design phase includes selecting the proper slope, pipe size, and outlet location.
Slope and Gradient
- Maintain a minimum slope of 1% (1/8 inch per foot) to promote gravity-driven flow.
- Use a level or laser tool to confirm consistent grading throughout the trench.
Material Selection
- Perforated pipe: Typically 4-in. PVC or corrugated HDPE with 0.5-inch holes.
- Gravel: Clean, washed stone ??-in. to 1-in. in diameter for optimal drainage.
- Geotextile fabric: Prevents soil infiltration while allowing water passage.
Guidance on matching materials to specific soil types can be found by Learn about our tailored solutions.
3. Excavation and Trench Preparation
Accurate trench dimensions are vital for system longevity. Follow these steps to prepare the trench correctly.
- Mark the drain line with spray paint or string.
- Excavate a trench 6-12 inches wide and 18-24 inches deep, adjusting depth for local frost lines.
- Check the trench slope regularly; adjust as needed before proceeding.
For visual references and safety tips during excavation, Explore advanced guides and tips.
4. Installing the Drain Components
With the trench ready, assemble the drainage system in layers to maximize water movement.
Step-by-Step Installation
- Lay geotextile fabric: Place a full-width liner at the trench base, extending it up the sides.
- Add a gravel base: Fill the bottom 2-3 inches with washed stone.
- Position the perforated pipe: Lay the pipe with the perforations facing down, ensuring a continuous slope.
- Cover with gravel: Backfill around the pipe with additional gravel to the top of the trench.
- Wrap the fabric: Fold the geotextile over the gravel to seal the system from soil intrusion.
- Backfill soil: Fill the remaining trench space with native soil, compacting lightly.
For a detailed checklist of each component, Find out more about this approach.
5. Connecting to a Discharge Point
The drain must terminate at a suitable outlet, such as a dry well, storm sewer, or lower-lying area of the yard.
- Ensure the outlet complies with local regulations.
- Install a catch basin or grate if surface water may enter the pipe.
- Use a PVC elbow or flexible coupler to direct flow toward the discharge zone.
Additional guidance on selecting and installing discharge components is available at Explore advanced guides and tips.
6. Testing and Final Adjustments
Before completing the project, verify that water moves freely through the system.
- Run water into the inlet using a garden hose.
- Observe flow speed and check for any pooling along the trench.
- Adjust pipe positioning or add additional gravel if flow is sluggish.
- Inspect the outlet for proper discharge and absence of backflow.
Successful testing confirms a functional French drain, reducing future moisture problems.
7. Maintenance Recommendations
Even a well-installed system benefits from periodic upkeep to sustain performance.
- Inspect inlet areas after heavy rain for sediment buildup.
- Flush the pipe annually with a garden hose to clear debris.
- Replace damaged sections of fabric or gravel as needed.
- Monitor surrounding landscaping to prevent roots from infiltrating the trench.
Ongoing care extends the life of the drainage solution and protects structural integrity.
Conclusion
Implementing a French drain system involves careful planning, precise excavation, and meticulous assembly of components. By following this step-by-step process, homeowners and contractors can achieve reliable water diversion without resorting to expensive foundation repairs. For further insights, case studies, and professional recommendations, visit the detailed resource at Learn about our tailored solutions. Proper installation and routine maintenance will keep the drainage pathway clear, safeguarding property against moisture-related damage for years to come.